
How to use FreeSurfer – Part 1
FreeSurfer is a great tool for gathering and extract data from fMRI images. I highly recommend use it through Jupyter Notebook because it works great and all references in this post are made in Jupyter.
Download FreeSurfer
First, we have to download FreeSurfer from https://surfer.nmr.mgh.harvard.edu/fswiki/DownloadAndInstall
Hands-on FreeSurfer
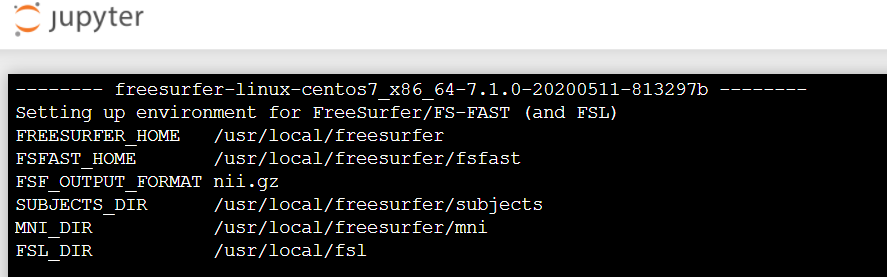
Open new terminal in Jupyter Notebook:
Now, we have to change our SUBJECTS_DIR. We can do it with the following command:
export SUBJECTS_DIR={full path to the place were you gonna store your file}
echo $SUBJECTS_DIR
Unfortunately, if you have a predefined directory structure of your project, the names of FreeSurfer’s variables and parameters can be misleading. I.e., if your anatomical file is stored at:
/data/<project>/<subject>/NIfTI/anatomical/T1w/T1w.nii.gzAnd you would like to have the output at:
/data/<project>/<subject>/NIfTI/Analyzed_data/anatomical/freesurferThen you will have to use the following “SUBJECT_DIR” variable:
export SUBJECTS_DIR=/data/<project>/<subject>/Analyzed_data/anatomicalThen you can create a pratent directory, if it doesn’t exist:
mkdir -p $SUBJECTS_DIRProcessing the data
In order to run basic FreeSurfer analysis, use the following command:
recon-all -s <Name of new folder> -i <Name of the file that you want to analyze> -allTherefore, given the remark on “SUBJECTS_DIR” above, you command should look something like that:
recon-all -s freesurfer -i /data/<project>/<subject>/NIfTI/anatomical/T1w/T1w.nii.gz -all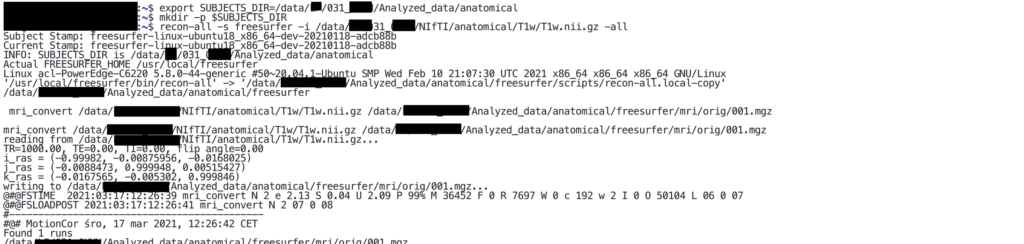
This will generate the output at:
/data/<project>/<subject>/NIfTI/Analyzed_data/anatomical/freesurfer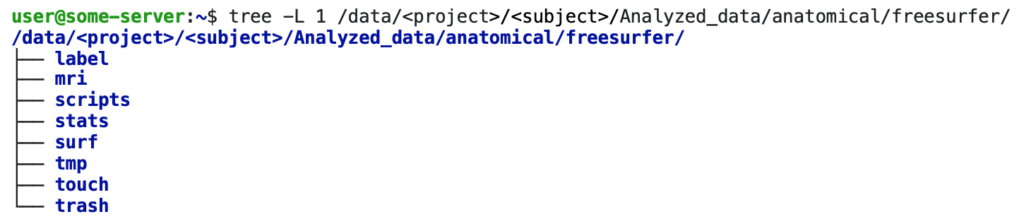
Unfortunately, the “-s” parameter means “subject”, however, if you have a more complicated directory and file structure, you may have to use some non-subject name, in order to get the proper output.
All files will be placed in a new folder that name is specified in the first part of command “recon-all”. The whole process can take from 6-24 hours for every single subject. It’s a lot of time. There our couple ways to speed up process.
For example, you can select steps of the analysis (FreeSurfer processing) which you would like to perform.
Second, open a couple of terminals and run a couple of analysis at the same time. Just leave it “for a night”. I know that maybe not the most sublime one but it works 🙂
Where find data to practice?
I highly recommend database like HCP (Human Connectome Project), ADNI (Alzheimer Disease Neuroimaging Initiative), PPMI (Parkinsons Progression Markers Initiative). Links:
https://www.ppmi-info.org/access-data-specimens/download-data/
http://www.humanconnectomeproject.org/
References and sources
Cover image for this post is adapted from: https://surfer.nmr.mgh.harvard.edu/
About authors

Cognitive Science student at
Adam Mickiewicz University in Poznań

Adam Mickiewicz University in Poznań
Computer System Analyst at
Poznań Supercomputing and Networking Center
1 thought on “How to use FreeSurfer – Part 1”
Leave a Reply
You must be logged in to post a comment.
Great post!